Figure 7-63.-Guided-bend test specimens.
test piece by using a hydraulic press or similar machine. When the proper precautions are taken, a blacksmith's forging press or hammer can be used to complete the bending operation. If a crack more than 1/16 inch develops during the test, stop the bending because the weld has failed; otherwise, bend the specimen flat. After completing the test, measure the distance between the scribed lines and call that measurement (y). The percentage of elongation is then determined by the formula:

Requirements for a satisfactory test area minimum elongation of 15 percent and no cracks greater than 1/16 inch on the face of the weld.
Guided-Bend Test
You use the GUIDED-BEND TEST to determine the quality of weld metal at the face and root of a welded joint. This test is made in a specially designed jig. An example of one type of jig is shown in figure 7-62.
The test specimen is placed across the supports of the die. A plunger, operated from above by hydraulic pressure, forces the specimen into the die. To fulfill the requirements of this test, you must bend the specimen 180 degrees-the capacity of the jig. No cracks should appear on the surface greater than 1/8 inch. The face- bend tests are made in this jig with the face of the weld in tension (outside), as shown in figure 7-63. The root- bend tests are made with the root of the weld in tension (outside), as shown in figure 7-63.
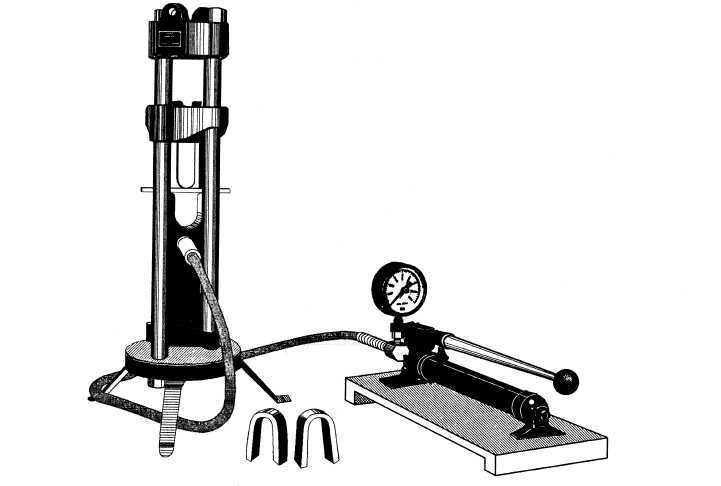
Figure 7-64 shows a machine used for making the guided-bend test. It is used in many welding schools and

Figure 7-64.-Testing machine for making guided-bend tests.
Continue Reading