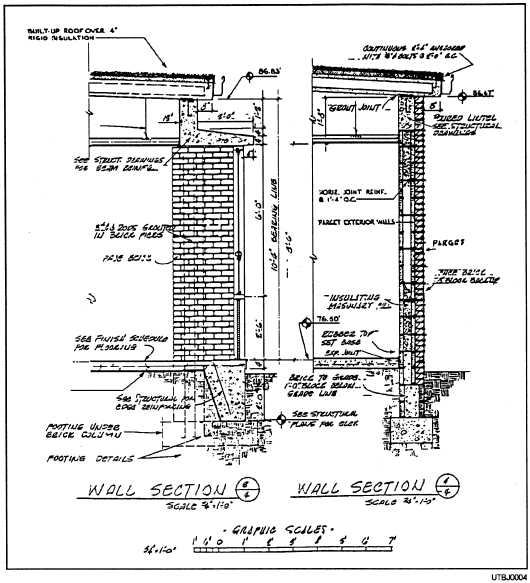
Figure 1-4. - Structural plan wall sections.
isometric drawing, you have the option of drawing it to scale.
The isometric drawing follows certain rules or conventions to show three dimensions on a flat surface. These rules are as follows:
1. Vertical lines in an orthographic elevation remain vertical in an isometric sketch.
2. Horizontal lines in an orthographic elevation are projected at an angle of 30 degrees and 60 degrees in an isometric drawing.
COMPARISON OF ISOMETRIC AND ORTHOGRAPHIC DRAWINGS
Compare the simple rectangular block shown in the orthographic representation in view A, figure 1-7, and the three-dimensional-view isometric representation in view B. Notice that the vertical lines of the orthographic drawing and isometric drawing (views A and B) remain vertical. The horizontal lines of the orthographic drawing are NOT horizontal in the isometric drawing but are projected at 30-degree and 60. degree angles, and the length of the lines remain the same in the isometric as they were in the orthographic.
Continue Reading