TM 9-243
USING THE POWER TORQUE WRENCH - Continued
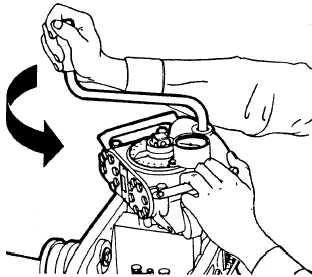
8
After obtaining the desired torque, turn the crank in
the opposite direction until the torque indicator
returns to zero (green band). This will remove the
holding pressure on the wrench.
9
Remove the wrench, adapter, and socket.
10 To loosen a nut, repeat steps 1 through 6.
NOTE
Normally, torque will build up in the
wrench until break-away torque is
reached. As the torque load is released,
the indicator will reverse direction.
11
Continue to turn crank until indicator returns
to “O.”
12
Remove the wrench, adapter, drive bar and
socket.
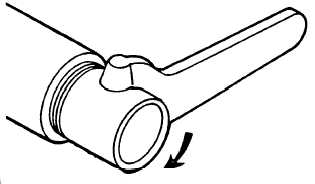
USING A SPANNER WRENCH
1
Insert the pins or lugs into the pin holes of the part.
2
Keep the pin face of the wrench flush against the
surface and turn the wrench.
3
Exert enough force against the wrench so that the
pins do not pop out of the holes.
4
Make certain that the pins fit the holes and the force
is applied with the handle perpendicular to the work.
5
Remove the wrench when desired tightness is
obtained.
CARE
1 Clean all wrenches after each use.
2 Wrenches that come in sets should be returned to
their cases after use.
2.1 Store torque wrenches as follows:
3
a. When storing the micrometer-type torque
wrenches or beam-type torque wrenches, check
to make sure they are returned to zero before
4
storing.
b. For the rest of the torque wrenches (unless
your local SOP states differently) zero them
before you store them. This takes the pres-
sure off the spring, and the wrenches will
last longer and give better service.
Apply a thin film of oil to the metal parts of all
wrenches before storing them. Remove oil before
use to prevent injury or damage.
For long-term storage, the wrenches should be cov-
ered with a rust-preventive compound and carefully
stored in a dry place.
25-18
Change 1