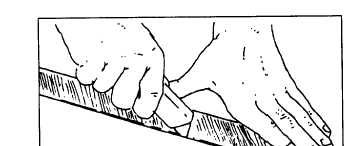
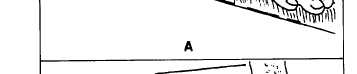
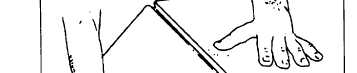
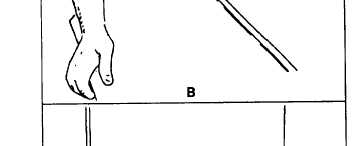
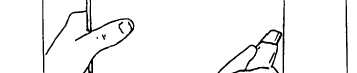
Figure 5-6.—Cutting gypsum drywall
point, so you get the true height and width of the cutout.
Locate the cutout on the finish side of the drywall. To
start the cut, either drill holes at the corners or start cuts
by stabbing the sharp point of the keyhole saw through
the drywall and then finishing the cutting with a keyhole
or compass saw. It is more difficult to cut a hole with
just a utility knife, but it can be done.
Installation
When attaching drywall, hold it firmly against the
framing to avoid nail-pops and other weak spots. Nails
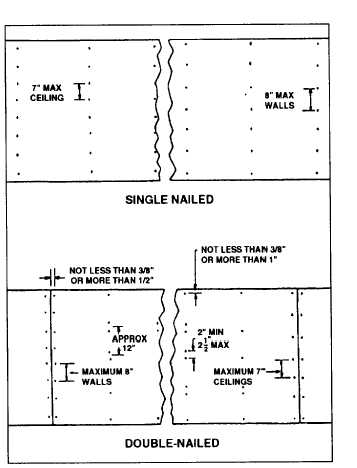
Figure 5-7.—Spacing for single and double nailing of gypsum
drywall.
or screws must fasten securely in a framing member. If
a nail misses the framing, pull it out, dimple the hole,
and fill it in with compound; then try again. If you drive
a nail in so deep that the drywall is crushed, drive in
another reinforcing nail within 2 inches of the first.
When attaching drywall sheets, nail (or screw) from
the center of the sheet outward. Where you double-nail
sheets, single nail the entire sheet first and then add the
second (double) nails, again beginning in the middle of
the sheet and working outward.
SINGLE AND DOUBLE NAILING.— Sheets are
single- or double-nailed. Single nails are spaced a
maximum of 8 inches apart on walls and 7 inches apart
on ceilings. Where sheets are double-nailed, the centers
of nail pairs should be approximately 12 inches apart.
Space each pair of nails 2 to 2 1/2 inches apart. Do not
double-nail around the perimeter of a sheet. Instead, nail
as shown in figure 5-7. As you nail, it is important that
you dimple each nail; that is, drive each nail in slightly
below the surface of the drywall without breaking the
surface of the material. Dimpling creates a pocket that
can be filled with joint compound. Although special
5-7